When it comes to removing grout, it’s like peeling back layers of an old story, revealing a fresh surface waiting to be uncovered. You may find yourself facing this task and wondering about the best approach. Have you ever considered the essential tools needed or how to effectively prep the tile before diving into the removal process?
Let’s walk through some practical steps to guide you through this renovation challenge.
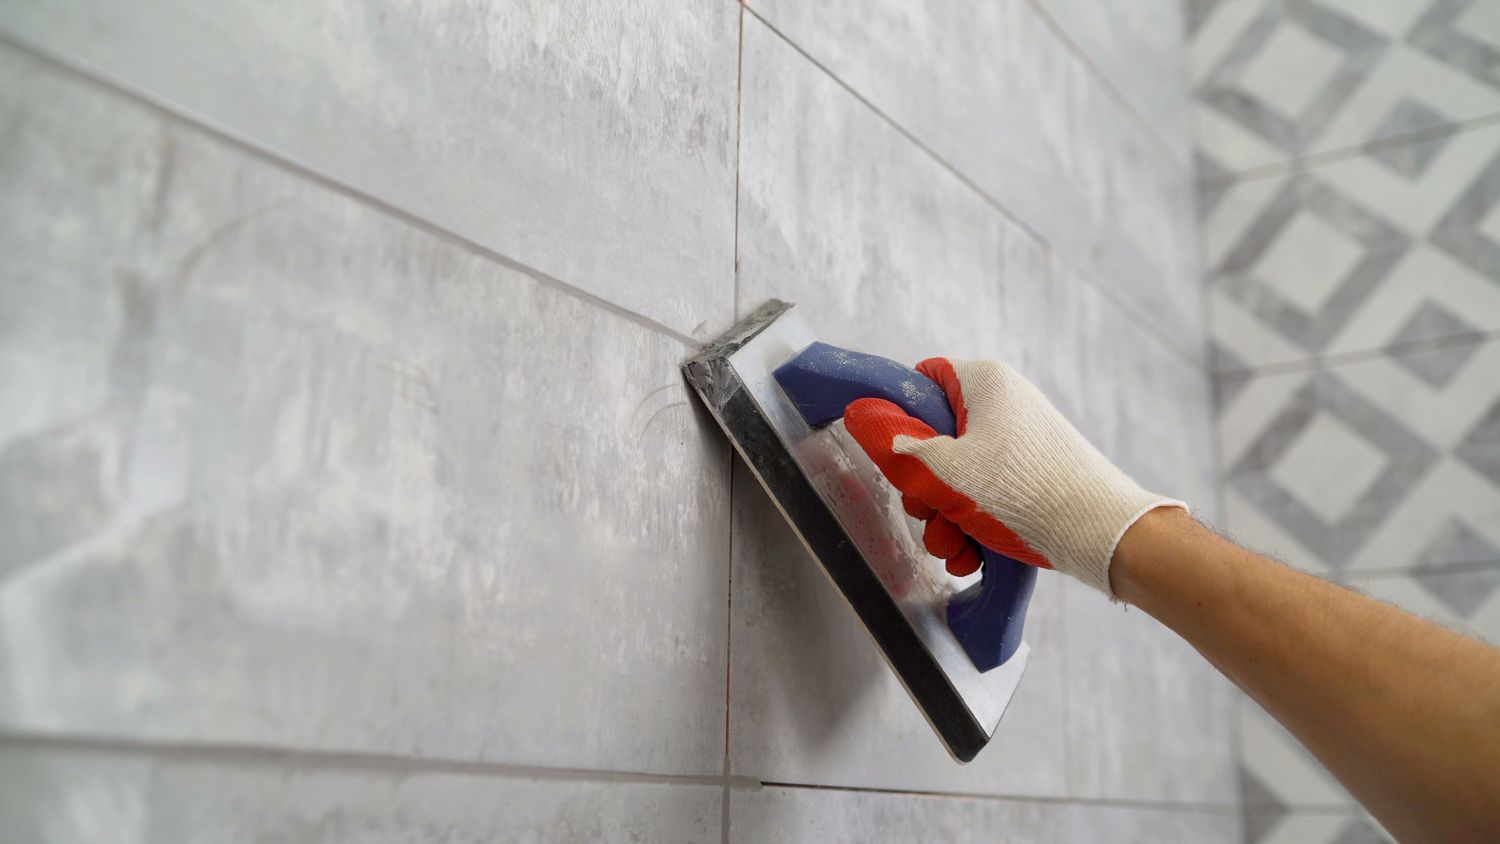
Necessary Tools for Grout Removal
- To effectively remove grout, you’ll need a few essential tools at your disposal. The most common tools for grout removal include a grout saw, rotary tool with a grout removal attachment, utility knife, and a grout removal tool like a carbide-tipped grout removal blade. These tools are crucial for effectively tackling grout removal projects without damaging the surrounding tiles.
- When using a grout saw, make sure to choose the right size blade for the width of the grout lines. Begin by running the grout saw along the grout lines, applying gentle pressure to avoid chipping the tiles. For rotary tools, attach the grout removal bit and set it to a low speed to prevent tile damage. Carefully guide the tool along the grout lines, letting the bit do the work.
- Common mistakes to avoid during grout removal include applying too much pressure, using the wrong tools for the job, and working too quickly. Take your time, use the appropriate tools, and follow these techniques for successful grout removal.
Preparing the Tile Surface
- Before moving on to grout removal, ensure that the tile surface is adequately prepared to facilitate the process. Proper surface preparation is crucial for effective grout removal. Begin by cleaning the tiles thoroughly to remove any dirt, debris, or residues that may interfere with the grout removal process. Use a mild detergent or specialized tile cleaner along with a scrub brush to clean the surface. Rinse the tiles with water and allow them to dry completely before proceeding.
- After cleaning the tiles, inspect the grout lines for any signs of damage or deterioration. It’s essential to address any issues with the grout before attempting to remove it. Ensure that the grout is in good condition and firmly in place to prevent unnecessary damage to the tiles during the removal process.
- When preparing the tile surface, it’s also important to take safety precautions. Wear protective gear such as gloves and safety goggles to shield yourself from potential injuries. Additionally, ensure proper ventilation in the area to avoid inhaling dust or fumes during the grout removal process. By following these steps, you’ll be ready to proceed with removing the grout effectively and safely.
Applying Grout Remover Solution
- Consider applying the grout remover solution evenly along the grout lines using a brush or sponge. Grout remover application techniques are crucial for effective removal. Start by selecting the right grout removal tool based on the type of grout and tile. For sanded grout, a stiff brush or nylon scrub pad works best, while unsanded grout requires a gentler approach with a soft brush or sponge.
- When applying the grout remover solution, ensure that it covers the grout lines completely. Work in small sections to prevent the solution from drying before you can remove the grout. Let the solution sit for the recommended time as per the manufacturer’s instructions. This allows the remover to penetrate and break down the grout effectively.
- After the designated time, use the chosen tool to scrub along the grout lines. The grout should start to loosen and break apart. Rinse the area thoroughly with clean water to remove any residue. Repeat the process if necessary until all the grout is removed. Remember to follow safety precautions when working with grout remover solutions.
Scraping Out the Old Grout
- When scraping out the old grout, ensure you have effectively loosened and broken down the grout using the appropriate grout remover tool. Start by selecting a grout removal tool such as a grout saw or an oscillating tool with a grout removal blade. These tools help in breaking up the old grout without damaging the surrounding tiles.
- Begin by holding the grout removal tool at a slight angle and gently scraping along the grout lines. Be cautious not to apply too much pressure to prevent damaging the tiles. Work systematically across the grout lines, ensuring each section is adequately scraped out before moving on.
- To avoid grout damage, periodically stop and clear out the debris using a vacuum or a brush. This prevents the grout particles from getting stuck in the newly scraped areas. Continue this process until all the old grout is removed, ensuring a clean and smooth surface for regrouting. Following these grout removal techniques will help you achieve a successful grout removal process while preventing unnecessary damage.
Cleaning and Sealing the Grout Lines
- To effectively clean and seal the grout lines, ensure you have gathered the necessary supplies such as a grout cleaner, a scrub brush, a sealant, and a grout sealer applicator tool. Start by cleaning the grout lines thoroughly using a grout cleaner and a scrub brush. Apply the cleaner, let it sit for a few minutes, and then scrub the grout lines to remove any dirt or grime. Rinse the area with water and allow it to dry completely.
- Once the grout lines are clean, it’s time to seal them. Choose a high-quality grout sealer and apply it using a grout sealer applicator tool for better precision. Follow the manufacturer’s instructions for the specific sealer you’re using. Apply the sealer along the grout lines, making sure it covers the entire surface. Wipe off any excess sealer from the tiles before it dries.
- For grout sealing tips, remember to reseal the grout lines annually to maintain their durability and prevent moisture penetration. When applying the sealer, work in small sections to ensure thorough coverage. These grout cleaning techniques and sealing tips will help keep your grout lines looking clean and well-maintained.
Conclusion
In conclusion, removing grout from your tiles requires the right tools, preparation, and technique. By following the steps outlined above, you can effectively remove old grout, clean the surface, and seal the new grout lines for a professional finish. Remember to take your time and be thorough in order to achieve the best results. With patience and the proper approach, your tiles will look fresh and rejuvenated once the grout removal process is complete.