You’ve carefully selected the perfect grout color, spent time and effort on the installation, only to find cracks appearing in your new grout. What could be causing this frustrating issue? Various factors can contribute to the cracking of your freshly installed grout, from improper installation techniques to the quality of materials used. Let’s explore these common culprits and unravel the mystery behind your cracking grout.
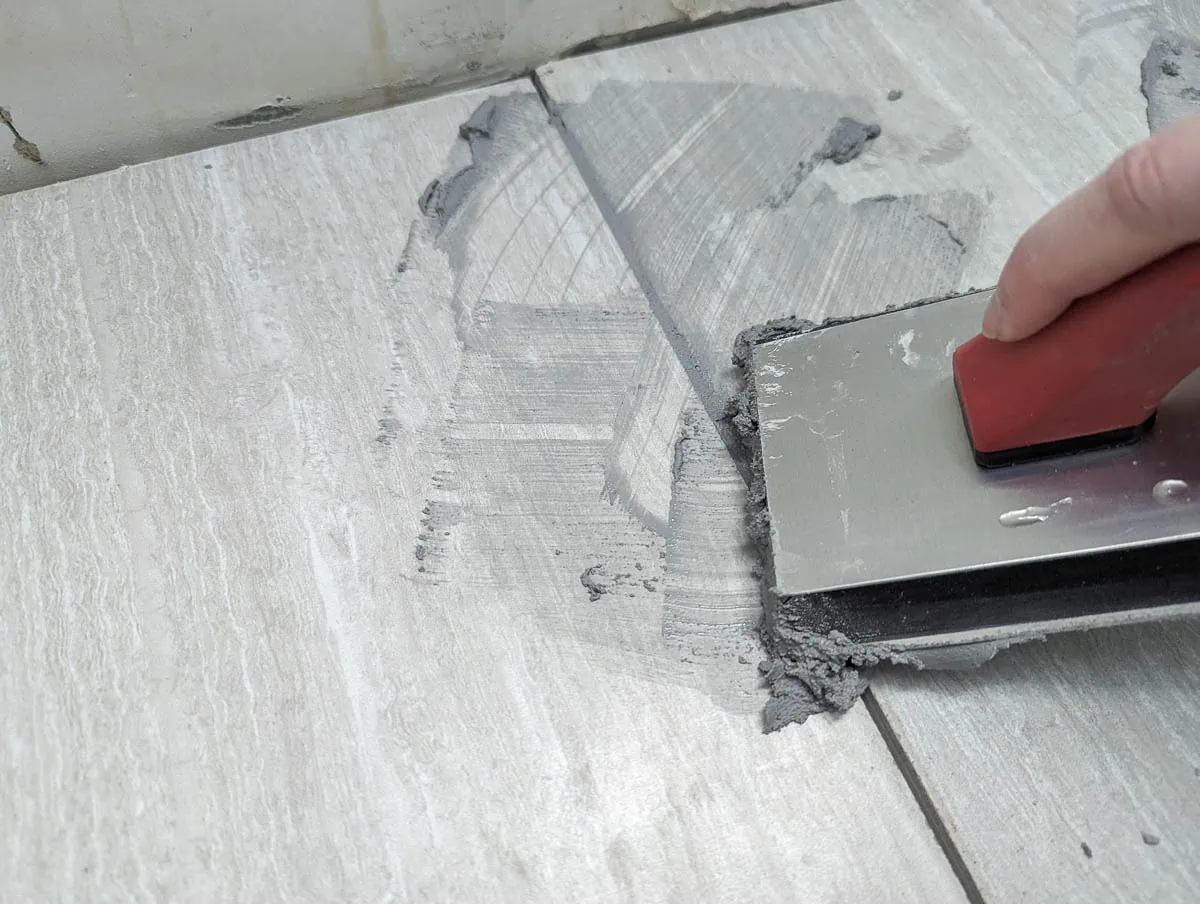
Improper Installation Techniques
- Improper installation techniques can lead to grout cracking and other issues in your tiling project. It’s crucial to pay attention to details such as proper mixing of the grout, correct application, and adequate drying time. When selecting grout color options, ensure that it complements your tiles and overall design scheme while also taking into account maintenance considerations. Darker grout colors tend to show less dirt but may fade over time, while lighter grout colors can brighten up a space but may require more frequent cleaning.
- For effective cleaning tips, avoid harsh chemicals that can damage the grout and opt for pH-neutral cleaners or homemade solutions like a mixture of baking soda and water. Regularly scrubbing the grout lines with a soft brush can prevent the buildup of dirt and grime, maintaining the grout’s appearance and integrity. Proper installation and maintenance practices are essential for ensuring the longevity and aesthetic appeal of your tiled surfaces.
Insufficient Curing Time
- Insufficient curing time after grout application can significantly impact the strength and durability of your tile installation. The curing process is crucial as it allows the grout to achieve its full strength and hardness. If the grout doesn’t cure properly, it can lead to cracking and crumbling, compromising the integrity of the entire tiled surface.
- To troubleshoot this issue, ensure that you follow the manufacturer’s recommendations regarding curing time. Factors like temperature and humidity can affect the curing process, so be mindful of these conditions. Typically, grout requires 24 to 72 hours to cure fully, but this can vary depending on the type of grout used.
- To prevent insufficient curing time from causing cracks in your grout, consider using grout additives that can accelerate the curing process. Additionally, maintaining consistent temperature and humidity levels in the room can aid in proper curing. By implementing these prevention techniques and allowing adequate curing time, you can ensure a strong and durable tile installation that will stand the test of time.
Movement or Settlement of Subfloor
- If your subfloor experiences movement or settlement, it can have detrimental effects on the integrity of your grout and tile installation. Subfloor instability or structural shifts can lead to cracks in your grout as well as the tiles themselves. When the subfloor moves, even slightly, it can cause the grout to crack and crumble, compromising the entire tiled surface.
- To address subfloor instability, it’s crucial to first identify the root cause of the movement. Structural shifts may be due to various factors such as inadequate subfloor support, improper installation, or moisture-related issues. Once the cause is determined, appropriate measures can be taken to stabilize the subfloor and prevent further movement.
- To mitigate the impact of subfloor movement on your grout and tile, consider reinforcing the subfloor, ensuring proper support, and addressing any underlying issues promptly. By tackling subfloor instability head-on, you can safeguard your tile installation and maintain the longevity of your grout.
Excessive Moisture Exposure
- To prevent grout cracking due to excessive moisture exposure, ensure thorough waterproofing measures are implemented during the tile installation process. Moisture is a common culprit behind grout cracking, as it weakens the grout’s integrity over time. Prevention tips include using a waterproof membrane under the tile, sealing the grout properly after installation, and ensuring there are no leaks in the surrounding areas.
- If you notice cracking due to moisture exposure, there are repair options available. Begin by removing the damaged grout carefully, ensuring not to disturb the surrounding tiles. Clean the area thoroughly and let it dry completely before applying new grout. Consider using an epoxy grout, which is more resistant to water damage. After regrouting, make sure to seal the grout properly to prevent future moisture infiltration.
Low-Quality Grout Materials
- Using low-quality grout materials can significantly increase the risk of cracking and deterioration in your tiled surfaces. When selecting grout for your tile installation, it’s crucial to consider both the grout consistency and durability. Low-quality grout often lacks the necessary strength and adhesion properties, leading to premature failure.
- One common issue with subpar grout materials is their inconsistent consistency. This can result in improper curing and weak bonds between tiles, making them more susceptible to cracking. Additionally, low-quality grout tends to have a lower durability, which means it may not withstand normal wear and tear over time.
- Furthermore, the color and aesthetics of low-quality grout can also be problematic. Inexpensive grout materials may fade or discolor quickly, detracting from the overall appearance of your tiled surface. To avoid these issues, always opt for high-quality grout materials that are specifically designed for your type of tiles. Investing in premium grout won’t only enhance the durability of your tiled surfaces but also ensure a long-lasting, aesthetically pleasing finish.
Conclusion
To prevent cracking in new grout, ensure proper installation techniques are followed. Allow sufficient curing time and address any movement or settlement issues in the subfloor. Avoid excessive moisture exposure and use high-quality grout materials. By addressing these potential causes of cracking, you can ensure a durable and long-lasting grout finish in your tiling projects. Remember, attention to detail and quality materials are key to a successful grout installation.