Grouting tile is often likened to a puzzle waiting to be solved – the pieces need to fit just right for the picture to come together flawlessly. But is it truly easy to master this art of grout application? As you consider embarking on this task, you may find yourself wondering if the process is as straightforward as it seems at first glance. Stay with us to uncover the nuances of grouting tile and whether it’s truly a walk in the park or perhaps more intricate than meets the eye.
Understanding Grout Basics
- Understanding the basics of grout is essential for successfully grouting tiles in your home renovation projects. When it comes to grout color options, it’s crucial to consider the overall look you want to achieve. Grout color can either blend in with the tiles for a seamless look or contrast to make a bold statement. Light-colored grout can make a space appear larger, while dark colors can add depth and sophistication.
- Now, let’s delve into grout sealing techniques. Sealing your grout is a vital step in maintaining its appearance and preventing stains and mold growth. It’s recommended to seal your grout annually or bi-annually, depending on the level of traffic in the area. Before sealing, ensure the grout is clean and completely dry to allow for optimal penetration of the sealer. Apply the sealer evenly and wipe off any excess to prevent a hazy residue once it dries. By understanding these basics, you can ensure a successful tile grouting project in your home.

Preparing the Grout Mixture
- To prepare the grout mixture effectively, gather your materials and follow these precise steps for a successful tile grouting project. Begin by selecting the appropriate grout color that complements your tiles. Remember that the grout color can significantly impact the overall look of your tiled surface. Once you have chosen the color, gather your materials: grout powder, a mixing container, water, a mixing tool (such as a margin trowel or a grout float), and gloves for hand protection.
- When mixing the grout, follow the manufacturer’s instructions for the water-to-grout powder ratio. Start by pouring a small amount of water into your mixing container, then gradually add the grout powder while stirring continuously. Use proper mixing techniques, ensuring there are no lumps in the mixture. The goal is to achieve a smooth, lump-free consistency that’s easy to spread on the tiles.
Applying Grout to Tiles
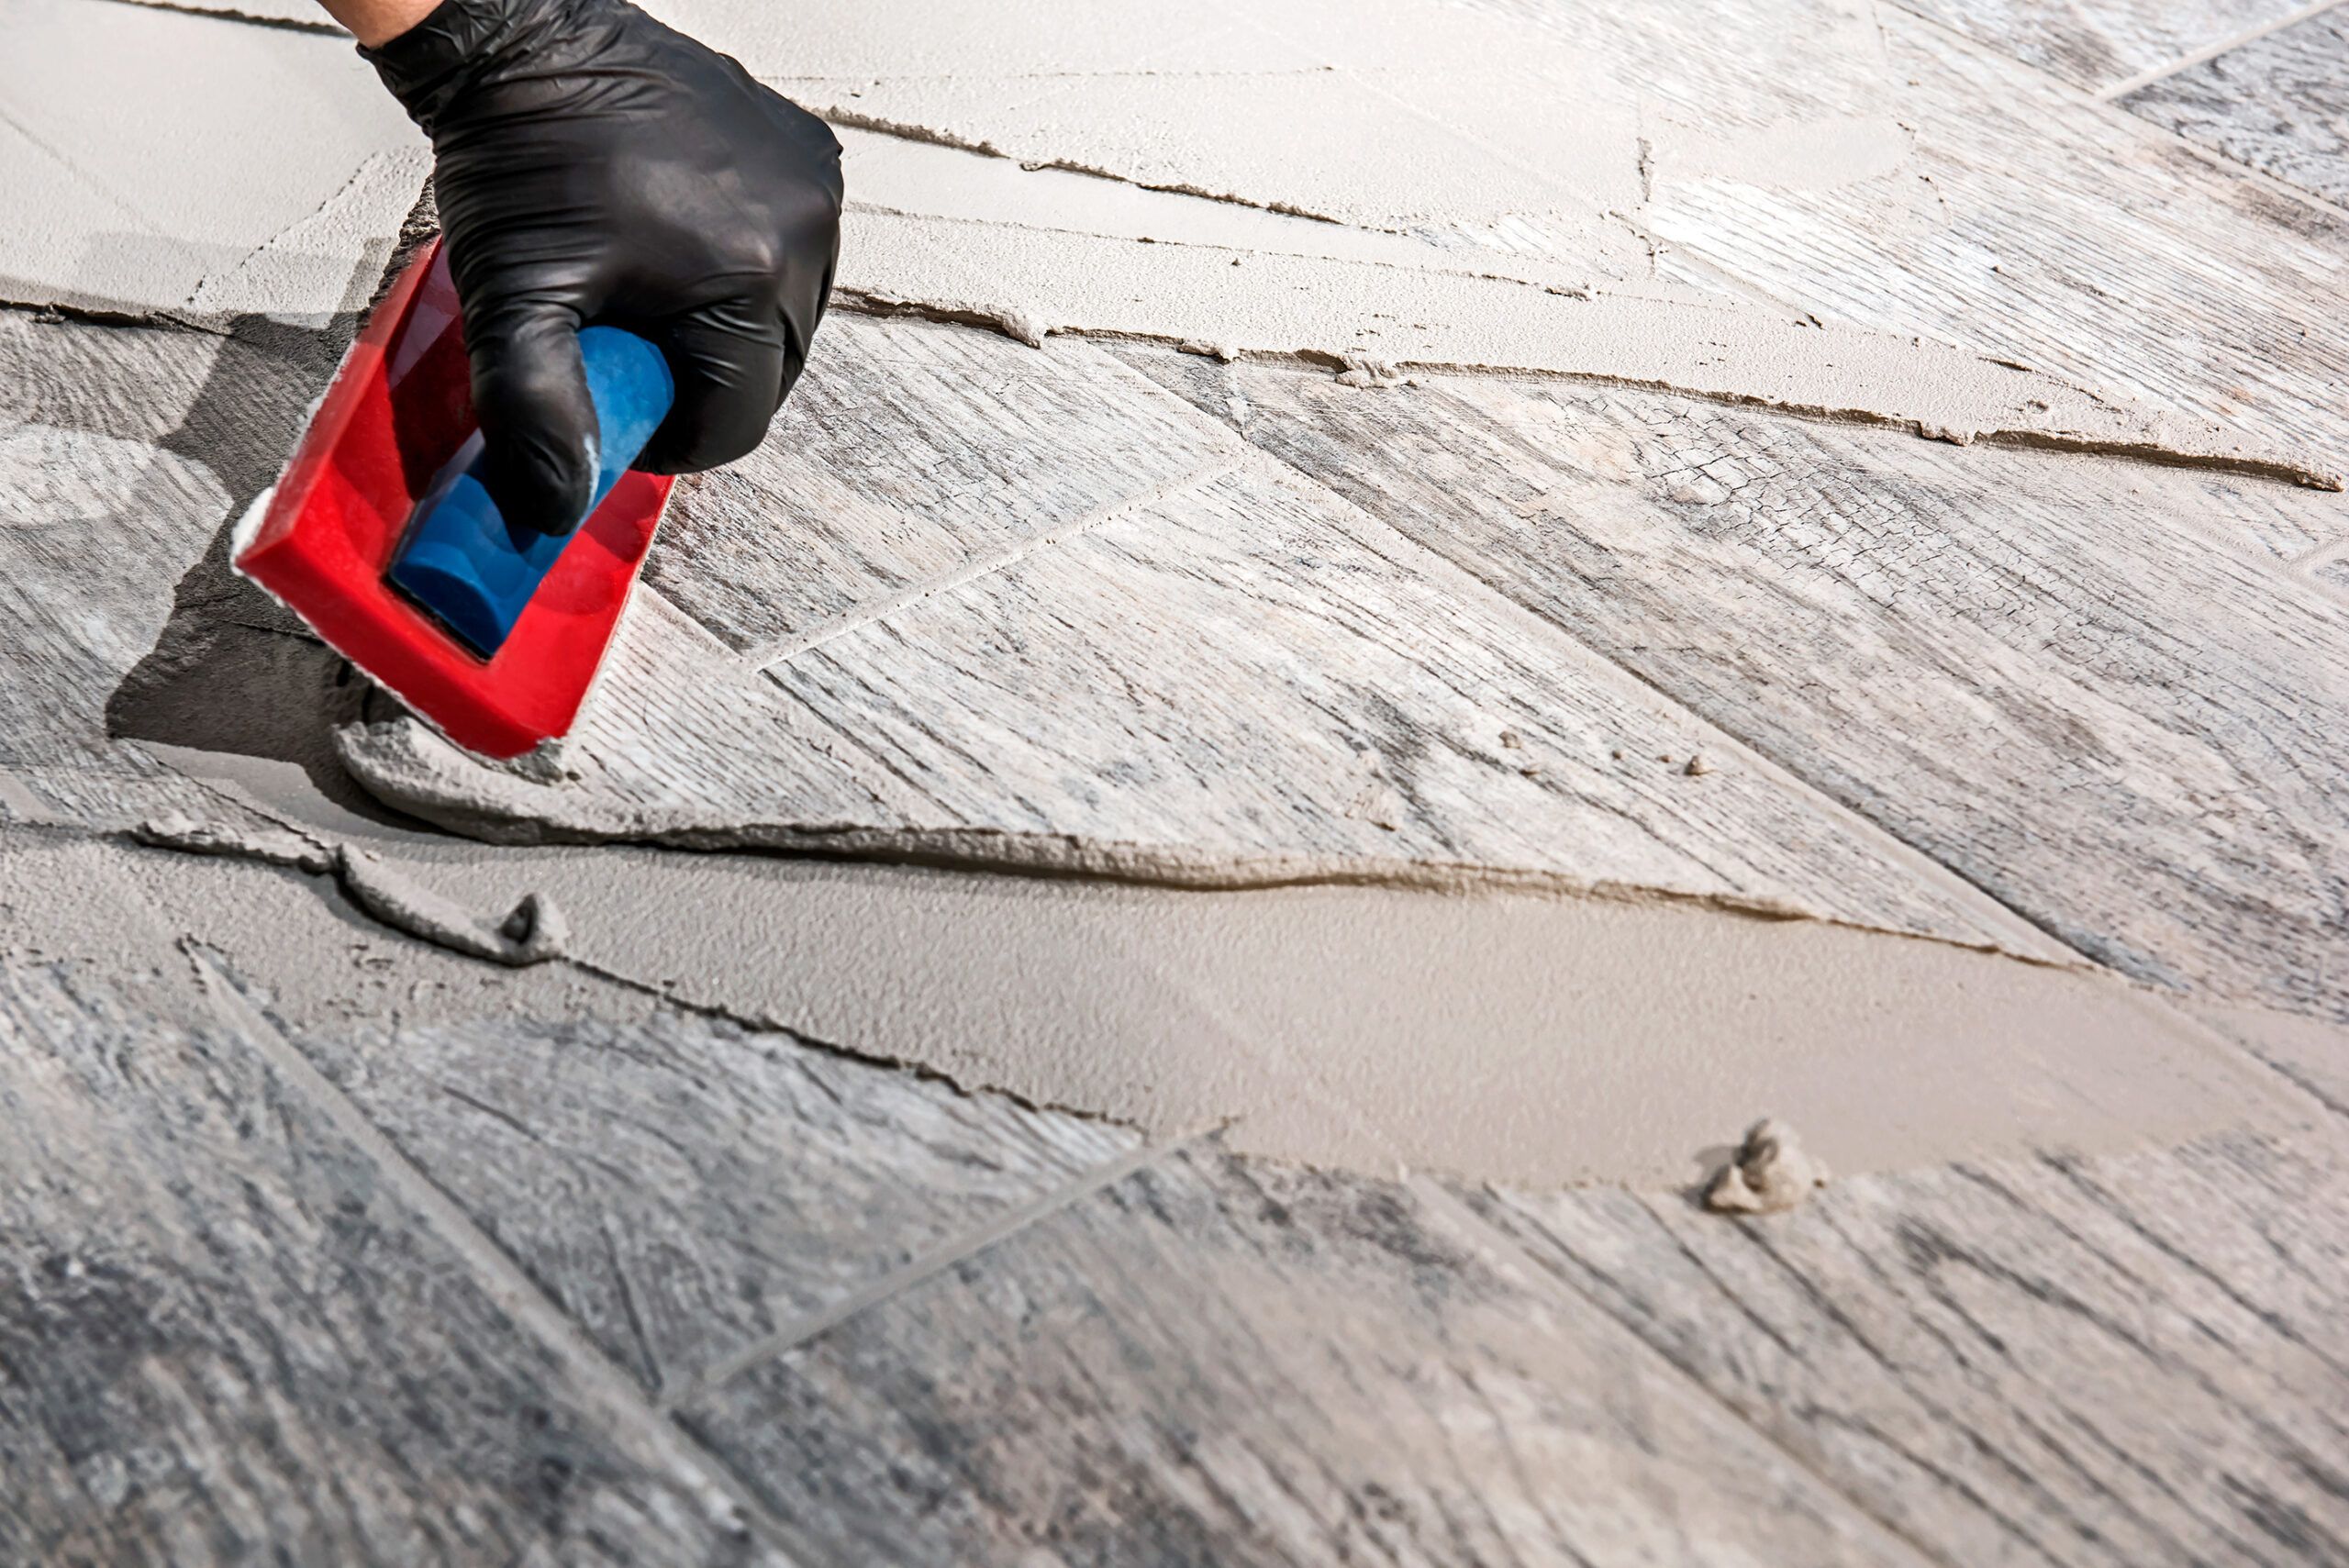
- When applying grout to tiles, ensure that the mixture is at the right consistency for smooth and even spreading. Start by spreading the grout diagonally across the tile joints using a rubber float. Hold the float at a 45-degree angle and press the grout into the joints. Avoid grouting more than a 3-foot section at a time to prevent the grout from drying before you can finish.
- After applying the grout, use a damp sponge to wipe off excess grout from the tile surfaces. Rinse the sponge frequently and change the water to keep it clean. Once the grout has dried slightly, buff the tiles with a dry cloth to remove any haze left behind.
- When troubleshooting, watch out for any cracks, gaps, or uneven areas in the grout lines. You can fix these by applying more grout and smoothing it out with a float. Remember to seal the grout after it has cured to prevent staining and ensure longevity.
Cleaning Up Excess Grout
- To effectively clean up excess grout after applying it to tiles, start by using a damp sponge to wipe off any residue from the tile surfaces. This step is crucial in achieving a clean and polished look for your tiled area. Once you have wiped off the excess grout, allow it to set for about 30 minutes, ensuring it’s slightly hardened before proceeding with the next cleaning steps.
- Next, using a grout removal technique such as a grout saw or grout rake, carefully scrape away any excess grout that may have dried on the tile surfaces or in between the tiles. Be gentle to avoid damaging the grout lines or tiles themselves. After removing the excess grout, use a clean, damp sponge to wipe down the tiles once more, ensuring all leftover residue is removed.
Final Tips for Grout Success
- For successful grouting results, ensure that the grout lines are sealed properly to prevent moisture penetration and maintain the longevity of your tiled surfaces. When choosing grout color options, consider selecting a shade that complements your tiles while also being practical for the space. Light-colored grout can brighten a room, while darker grout can add contrast and hide stains.
- Sealing grout is a critical step in the grouting process. Once the grout has fully cured, apply a quality grout sealer to protect it from water, dirt, and mildew. This will help prolong the life of your grout and keep it looking fresh. Remember to reapply the sealer periodically as recommended to maintain its effectiveness.
- When sealing grout, ensure that the surface is clean and dry before application. Use a small brush or applicator to evenly coat the grout lines. Wipe off any excess sealer from the tiles promptly to avoid streaks or residue. Following these final tips for grout success will help you achieve professional-looking results and keep your tiled surfaces in top condition for years to come.
Conclusion
Grouting tile may seem daunting at first, but with the right tools and techniques, it can be a straightforward process. By understanding the basics of grout, preparing the mixture correctly, and applying it evenly to the tiles, you can achieve professional-looking results. Remember to clean up excess grout promptly and follow these final tips for a successful grouting experience. With a little practice, you’ll become a grouting pro in no time.